It has been a while since I've posted some DIY projects, and I came across these and thought I would share! Add Spring panache inside your home and out with these engaging DIY projects for all skills levels. From fixing up roadside furniture to installing an edible container garden and building a stone fire pit, these 10 DIY projects for the home and garden are for both newbies and pros!
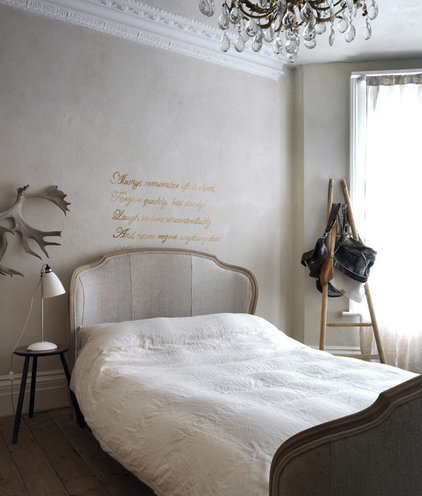
Project: Painted quotation
Difficulty: Easy
Estimated time: 1 hour
The book Flea Market Chic by Liz Bauwens and Alexandra Campbell features a quote painted on the wall above a bed's headboard. You can easily re-create this poetic look with a small can of paint and a set of letter stencils — or very good handwriting.
Difficulty: Easy
Estimated time: 1 hour
The book Flea Market Chic by Liz Bauwens and Alexandra Campbell features a quote painted on the wall above a bed's headboard. You can easily re-create this poetic look with a small can of paint and a set of letter stencils — or very good handwriting.
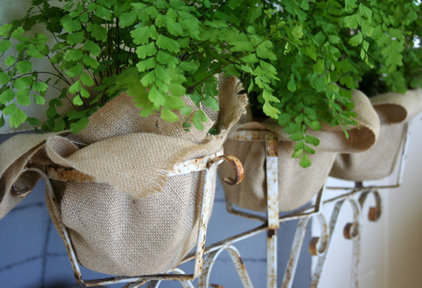
Project: Burlap-wrapped pots
Difficulty: Easy
Estimated time: 15 minutes
Jennifer of The Old Painted Cottage covered basic pots with burlap to enhance her maidenhair ferns. Buy a roll of burlap at a garden store, cut a section that fits your pot and place the stylishly covered pot in a plant stand. You can also finish the look by tying the burlap with twine.
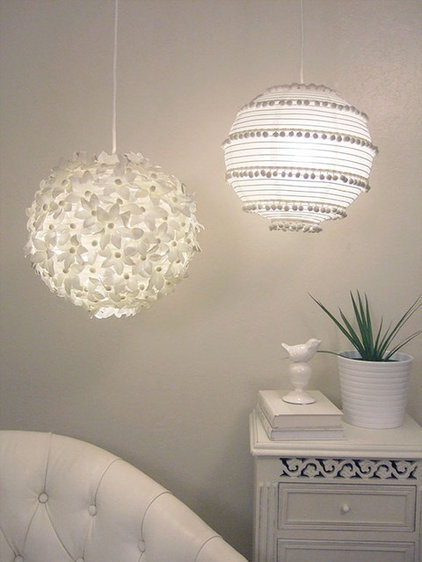
Project: Two embellished paper lanterns
Difficulty: Easy
Estimated time: 20 minutes to 2 hours
Monica Ewing of Crafty Nest whipped up these delightful paper globe lanterns with nothing more than a glue gun and embellishments from a craft store. The flower design takes a bit more time, but you can finish the pom-pom creation in just minutes.
See the full instructions here
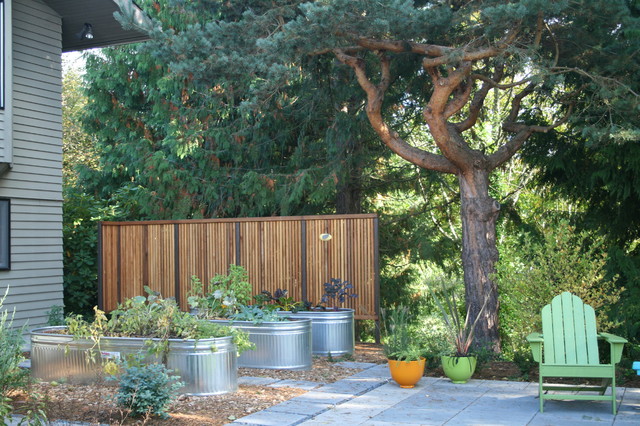
Project: Container garden Difficulty: Easy Estimated time: An afternoon Want an edible garden in raised beds but don't have the time or desire to do major construction? Take a cue from the folks at Banyon Tree Design Studio and fill galvanized troughs (yes, the kind livestock drink from) with soil and compost, and use them as containers to plant your seeds. |
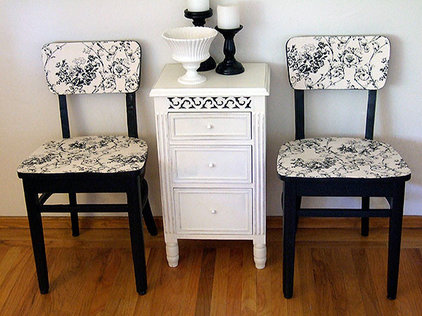
Project: Reclaimed dining chairs
Difficulty: Moderate
Estimated time: 2 days (including drying time)
Monica Ewing of Crafty Nest scooped up these chairs for free on the side of the road and transformed them with black paint and decorative fabric.
This is a no-sew project, so it's even appropriate for newbie DIYers. Read the full details and how-to here.
Project: Stenciled rug Difficulty: Moderate Estimated time: 2 days Upgrading a sisal rug with a modern print creates a fresh look that's inexpensive. Read more about this project here. |

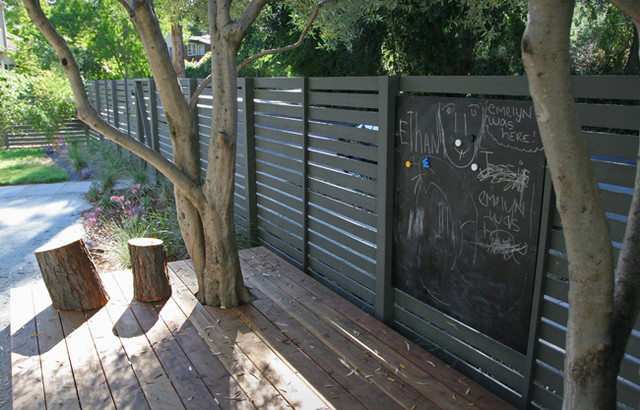
Project: Outdoor chalkboard Difficulty: Moderate Estimated time: 2 days Shades of Green's portfolio on Houzz inspired me to research outdoor chalkboard DIY projects. I discovered the perfect method: Mix outdoor paint with a dark sanded grout and apply it to a sheet of plywood for a version that will hold up against the elements. Get the full how-to here. |
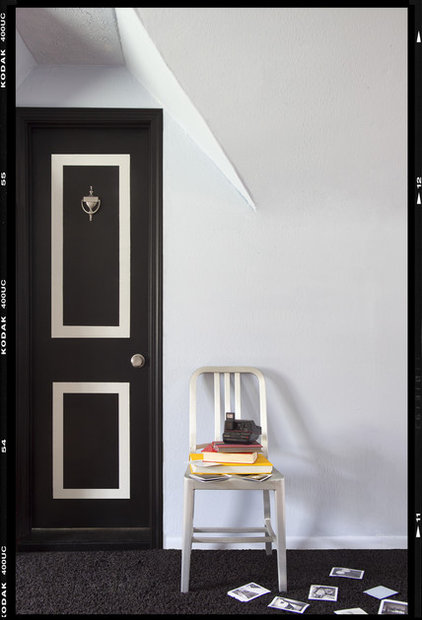
Project: Front-door face-lift
Difficulty: Moderate
Estimated time: 2 days (includes drying time)
Designer Brian Patrick Flynn, aka the Decor Demon, upgraded a basic hollow-core door in a weekend with new hardware, fresh paint and crisp graphic design. It may look complicated, but with time and patience, even a beginner can tackle this project.
Read the full story with step-by-step instructions
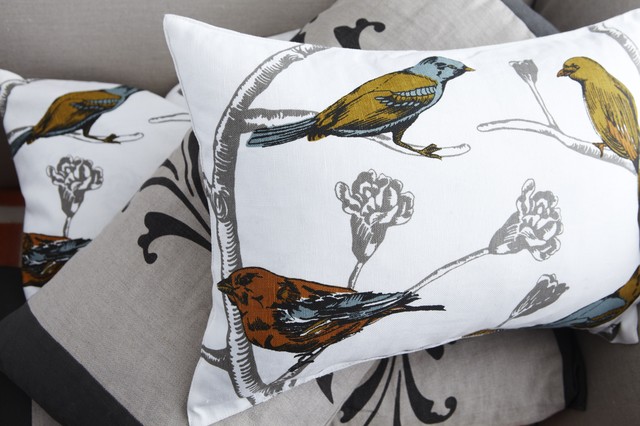
Project: Placemat pillows Difficulty: Moderate (sewing machine required) Estimated time: Several hours Living in a Nutshell by Janet Lee covers creative and budget-friendly projects for small spaces. Here's a genius tip from the book: Sew designer placemats together and fill with stuffing to create a pillow. Read the Houzz coverage of Living in a Nutshell for more ideas. |
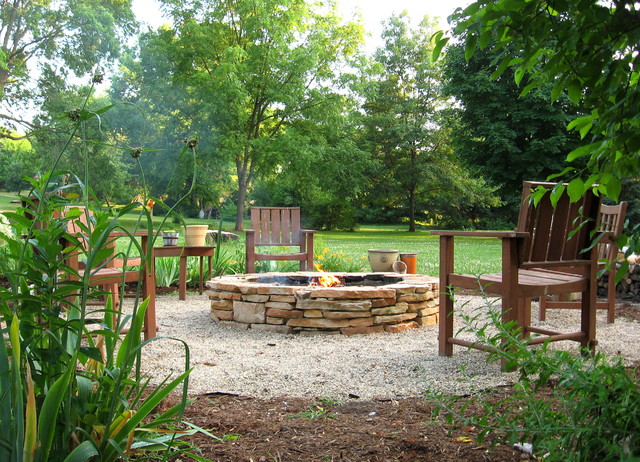
Project: Backyard fire pit Difficulty: Hard Estimated time: Several weekends (and helping hands) If you are ready to bust out the power tools and do some heavy lifting, this stacked stone fire pit could be yours in time to enjoy warm summer nights. Erin Lang Norris did a wonderful job outlining step-by-step instructions, so if you decide to tackle this project, you are in good hands. Source: www.houzz.com To order your copy of Remodeling Hell, please CLICK HERE! To read how you can help updating Remodeling Hell, please CLICK HERE For more information about my Summit Murder Mystery series, please CLICK HERE! |